- 1. Repurposing Old Chairs
- 2. Upcycling a Dresser into a TV Stand
- 3. Transforming a Bookshelf into a Bar Cart
- 4. Restoring and Refinishing a Vintage Table
- 5. DIY Headboard Ideas
- 6. Creating a Customized Ottoman
- 7. Renewing a Worn-out Couch
- 8. Revamping a Kitchen Island
- 9. Making a Statement with Painted Furniture
- 10. Adding a Personal Touch with Wallpaper
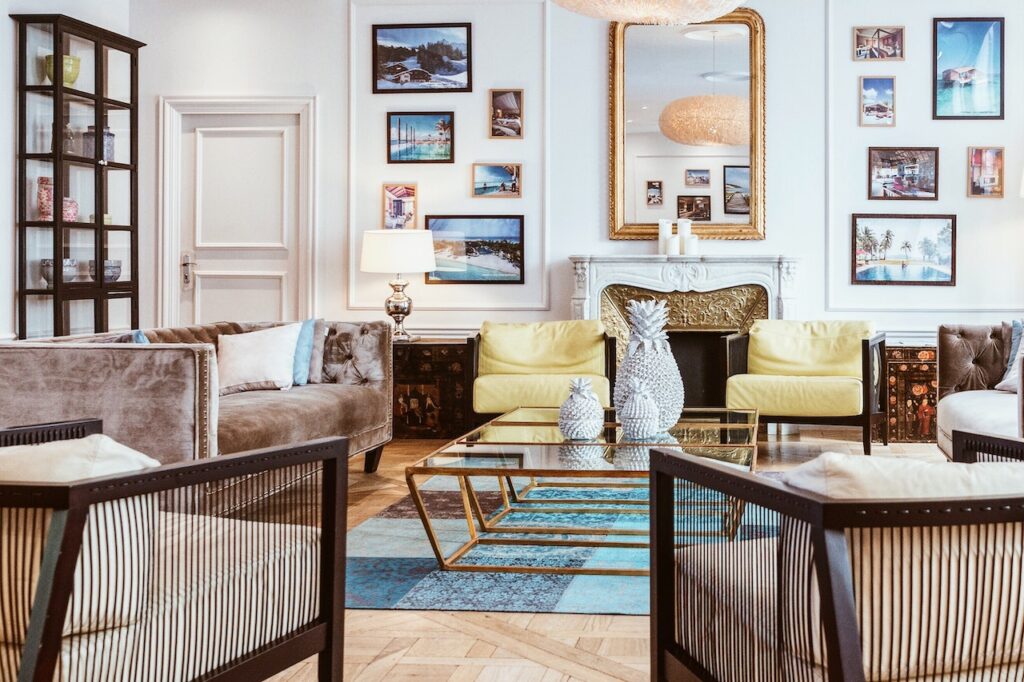
Are you looking to add a touch of creativity and personalization to your home? Why not try transforming your furniture into something new and exciting? With a little time, effort, and imagination, you can repurpose and upcycle old pieces into unique and functional items that will breathe new life into your space. In this article, we will share 10 amazing furniture transformations that you can easily do-it-yourself. Let’s get started!
1. Repurposing Old Chairs
Do you have a set of old chairs that have seen better days? Instead of throwing them away, consider repurposing them into something completely different. With a few simple tools and materials, you can transform those worn-out chairs into statement pieces that will add character to any room.
2. Upcycling a Dresser into a TV Stand
If you have an old dresser that no longer serves its original purpose, why not turn it into a stylish TV stand? This transformation is not only functional but also a great way to repurpose a piece of furniture that might otherwise end up in a landfill.
Start by removing the drawers and hardware from the dresser. Once the dresser is empty, you can give it a fresh coat of paint or stain to match your desired aesthetic. If you want to add a touch of uniqueness, consider adding decorative molding to the front of the dresser or replacing the drawer fronts with reclaimed wood.
Once the paint or stain has dried, you can reattach the drawers or leave them out for open storage shelves. Add your TV and any media devices, and voila – you have a one-of-a-kind TV stand that is sure to be a conversation starter!
Also Read : Achieving Luxury on a Budget: DIY Home Improvement Ideas

4. Restoring and Refinishing a Vintage Table
If you have a vintage table that has seen better days, don’t despair! Restoring and refinishing it can bring back its original beauty and make it a centerpiece in your home.
Start by inspecting the table for any damage or loose parts. Repair any broken or wobbly legs and tighten any loose screws. Next, sand down the table’s surface to remove any old finish or imperfections. If the wood is damaged, fill in any cracks or gaps with wood filler and sand it smooth.
Once the surface is prepped, you can choose to stain or paint the table, depending on the look you’re going for. Apply several coats of finish to protect the wood and give it a polished look. Finally, add some stylish table linens or a centerpiece, and your vintage table will shine once again!
5. DIY Headboard Ideas
Adding a headboard to your bed can instantly transform your bedroom into a cozy and inviting space. Instead of purchasing a generic headboard, why not create your own unique design?
One idea is to repurpose an old door or a wooden pallet. Simply clean and sand it down to remove any rough edges or splinters. You can then paint or stain it to match your bedroom decor. Attach it securely to the wall behind your bed for a rustic and charming headboard.
Another creative headboard idea is to use fabric or wallpaper. Cut a piece of plywood to the desired headboard size and attach foam padding for added comfort. Then, wrap the plywood with your chosen fabric or wallpaper, securing it with a staple gun. Mount the headboard on the wall and enjoy your newly transformed bed!
6. Creating a Customized Ottoman
An ottoman not only serves as a functional piece of furniture but also adds a cozy touch to any living space. Creating your own ottoman allows you to customize it to your exact preferences.
First, choose a base for your ottoman. This can be an old coffee table, a sturdy wooden crate, or even an unused tire. Clean and prepare the base by sanding or painting it if necessary.
Next, choose a fabric that matches your decor and cut it to the size of the ottoman’s top. Attach the fabric to the base using a staple gun or upholstery tacks, ensuring a snug fit. For added comfort, consider adding foam padding or a cushion before attaching the fabric.
To finish off your ottoman, you can add decorative details such as piping or trim. And there you have it – a customized ottoman that perfectly suits your style and provides a comfortable place to rest your feet!
7. Renewing a Worn-out Couch
Is your favorite couch showing signs of wear and tear? Instead of replacing it with a new one, consider giving it a makeover to breathe new life into it.
Start by thoroughly cleaning the couch to remove any dirt and stains. Next, inspect the cushions and seating area for any sagging or damage. If needed, you can replace the cushion foam or add additional support underneath to restore the couch’s comfort.
To update the look of the couch, consider reupholstering it with new fabric. Choose a durable material that complements your decor and follow a step-by-step reupholstery tutorial to ensure a professional finish. Alternatively, you can use slipcovers to give the couch a fresh new look.
Once the couch is reupholstered or covered with slipcovers, add some throw pillows and a cozy blanket to complete the transformation. Your old couch will look brand new and ready for many more years of comfortable lounging!
8. Revamping a Kitchen Island
Is your kitchen island starting to look dated or worn out? With a few simple updates, you can give it a fresh new look and make it the centerpiece of your kitchen once again.
Start by removing any hardware or accessories from the kitchen island. Clean it thoroughly to remove any grease or dirt buildup. If the surface is scratched or damaged, sand it down to create a smooth surface for painting or staining.
Next, choose a new color or finish for your kitchen island. A fresh coat of paint or a new stain can make a world of difference. Don’t be afraid to get creative – consider adding a pop of color, or go with a classic white for a clean and timeless look.
You can also update the hardware on the kitchen island to match your new style. Replace outdated knobs and pulls with modern and sleek designs that complement your kitchen’s aesthetic.
Finally, consider adding a new countertop or refreshing the existing one. You can choose from a variety of materials such as granite, quartz, or butcher block to give your kitchen island a luxurious and functional upgrade.
9. Making a Statement with Painted Furniture
Sometimes all it takes to transform a piece of furniture is a fresh coat of paint. This simple DIY project can turn a dull and ordinary piece into a statement-making focal point.
Start by selecting the furniture piece you want to paint. This could be a side table, a chair, a cabinet, or any other item that needs a makeover. Clean the surface thoroughly, removing any dirt, dust, or grease.
Next, lightly sand the surface to create a better adhesion for the paint. Prime the furniture if necessary, especially if you’re painting over a dark or glossy finish. Once the primer is dry, you can apply the paint color of your choice. Consider using bold and vibrant colors for a playful look or muted and neutral tones for a more sophisticated vibe.
Once the paint has dried, you can also add stencils, patterns, or decorative touches to further enhance the piece. Don’t forget to finish it off with a protective sealant to ensure the paint job lasts for years to come.
10. Adding a Personal Touch with Wallpaper
Adding wallpaper to furniture is a unique way to incorporate patterns and designs into your home decor. It’s a great option for giving old or worn-out furniture a fresh and trendy look.
Start by selecting the furniture piece you want to wallpaper. This could be a dresser, a cabinet, or even the back panel of a bookshelf. Clean and prepare the surface by sanding lightly to ensure proper adhesion.
Next, measure the dimensions of the furniture piece and cut the wallpaper to size. Apply wallpaper paste to the back of the wallpaper or use peel-and-stick wallpaper for easier application. Carefully adhere the wallpaper to the furniture, smoothing out any bubbles or wrinkles.
Once the wallpaper is in place, trim off any excess and seal the edges with a clear adhesive or a coat of clear varnish. The result will be a stunning and personalized piece of furniture that adds a pop of color and pattern to your space.
With these 10 amazing furniture transformations, you now have the inspiration and know-how to turn old and worn-out pieces into beautiful and functional items that reflect your personal style. Get creative, have fun, and enjoy the process of transforming your furniture into something truly remarkable!